


The homeowner's guide to tiling: tips and tricks

Tiling is a popular choice for homeowners looking to enhance the aesthetics and functionality of their living spaces. It involves the careful placement of tiles - made from materials such as ceramic, porcelain, or stone - on floors, walls, or other surfaces. The process requires precision and an understanding of the materials and methods involved.
Quality tiling offers numerous benefits, including durability, low maintenance, water resistance, and the ability to transform the look of a space. With the right selection and installation, tiles can add value to your property and stand the test of time.
Planning Your Tiling Project
When selecting tiles, consider the area of application, foot traffic, moisture levels, and your personal style. There's a vast array of options, from glazed ceramic tiles for easy cleaning to textured stone tiles for a natural look.
Accurate measurements are crucial to avoid under or over-ordering. Calculate the square footage of the area to be tiled and add 10% to account for cuts and waste.
Ensure you have the right tools for the job, including a tile cutter, notched trowel, spacers, level, and safety equipment. High-quality adhesives and grouts are also essential for a lasting finish.
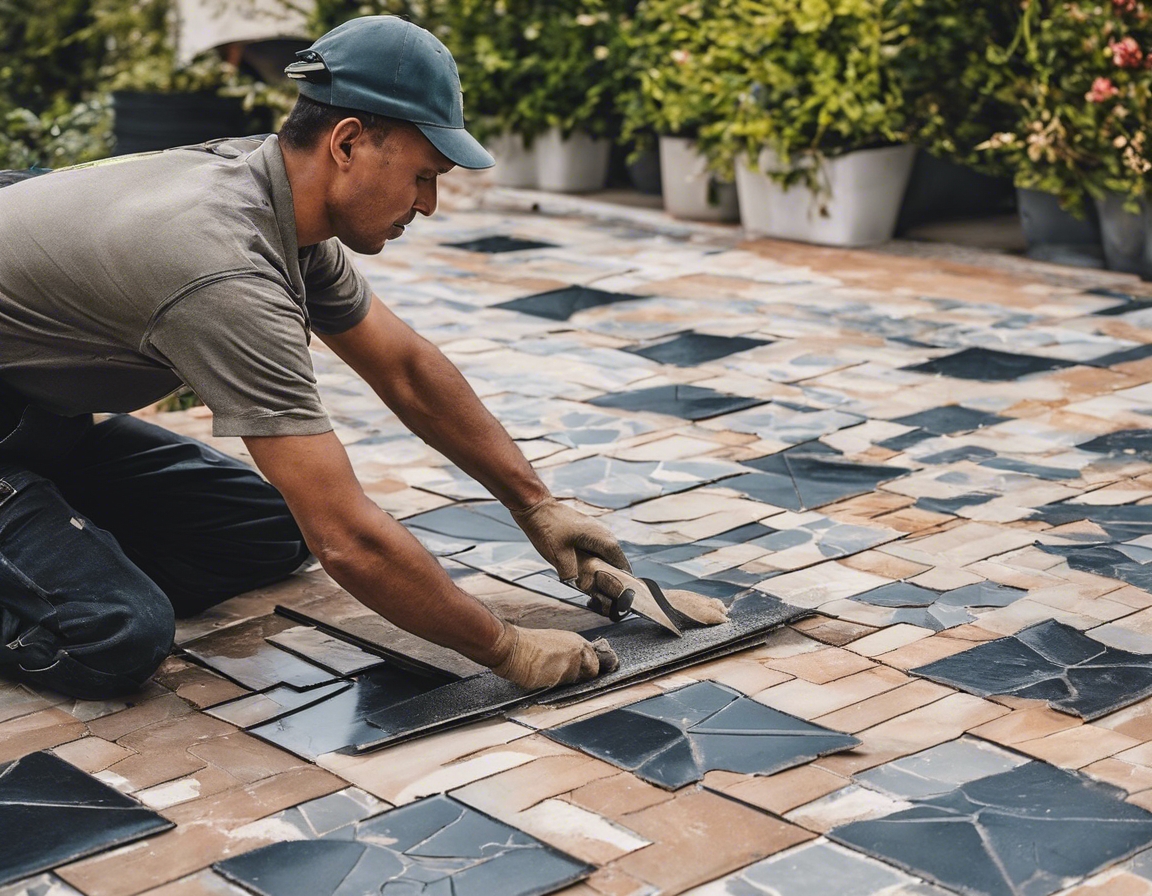
Preparation for Tiling
A clean, level, and stable surface is key to successful tiling. Remove any old coverings, repair damages, and ensure the area is dry and free of dust and debris.
Plan your layout to minimize cuts and waste. Consider using spacers to achieve uniform grout lines, and think about the direction and pattern of the tiles to enhance the space.
Tiling Techniques and Best Practices
Apply adhesive using a notched trowel at a consistent angle and pressure to ensure even coverage. Allow the adhesive to set slightly before placing tiles.
For precise cuts, mark your tiles before cutting and use a quality tile cutter. For complex shapes, a wet saw may be necessary.
Begin laying tiles from the center of the area and work outwards. Use spacers to maintain consistent grout lines, and regularly check for level and alignment.
Once the tiles are set, apply grout with a rubber float, working it into the joints at a diagonal angle. Seal the grout to protect against moisture and staining.
Maintenance and Upkeep
Regular cleaning with non-abrasive products will keep your tiles looking new. Protect your investment by promptly addressing any spills or stains.
If a tile becomes cracked or chipped, it can often be replaced without disturbing the surrounding tiles. Keep spare tiles from your project for such repairs.

Comments (0)