The ultimate guide to installing your robotic mower
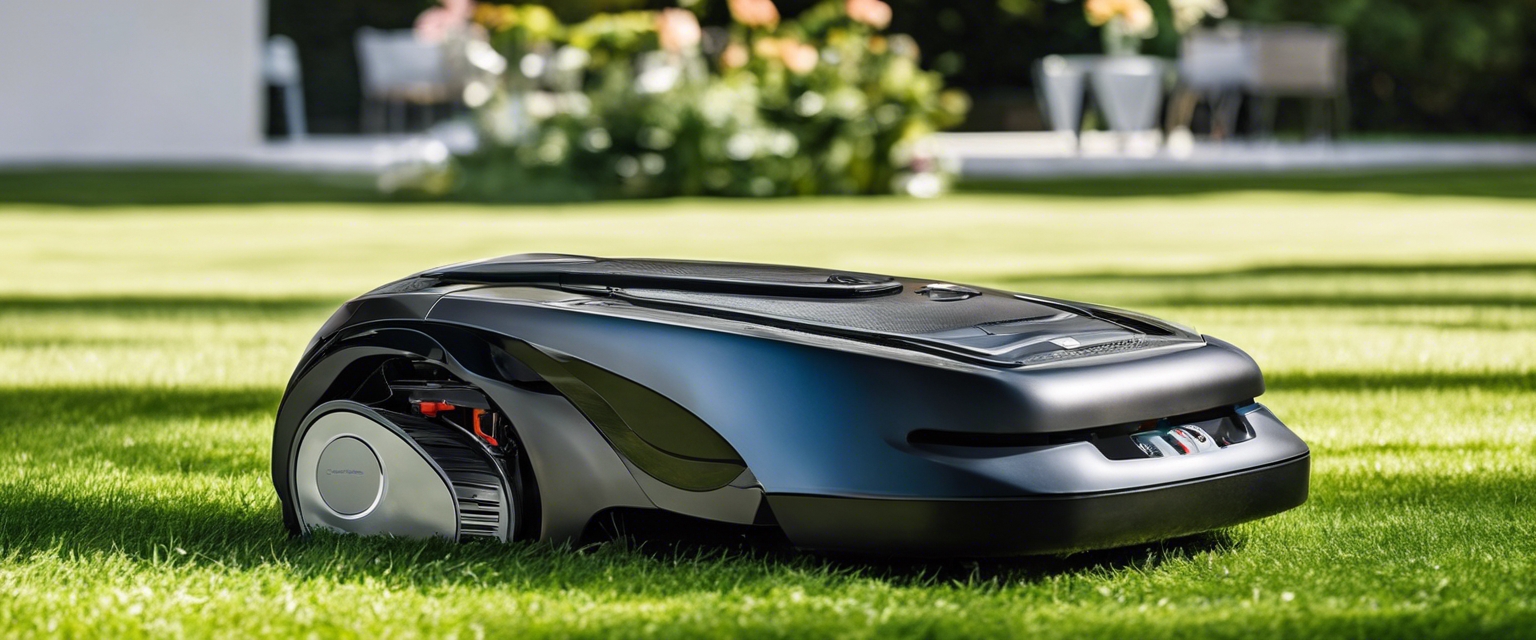
Robotic mowers represent a significant leap forward in lawn care technology, offering a sustainable, convenient, and time-saving solution for maintaining your outdoor space. They are designed to operate autonomously, cutting grass to perfection while you focus on other activities. With features like programmable schedules, smart navigation, and quiet operation, robotic mowers are an ideal choice for the environmentally conscious, tech-savvy, and busy professionals.
Before diving into the installation process, it's important to understand how robotic mowers work. These devices use sensors and perimeter wires to navigate your lawn, ensuring every inch is trimmed without the need for manual intervention. They are battery-powered, reducing emissions and eliminating the need for gasoline.
Pre-Installation Considerations
Assessing your lawn's size, shape, and terrain is crucial in preparing for a robotic mower installation. Obstacles such as trees, flower beds, and slopes will influence the placement of the perimeter wire and the choice of mower model.
Selecting a robotic mower that fits your lawn's characteristics and your personal preferences is essential. Consider battery life, cutting width, and the ability to handle slopes when making your decision.
Gather all necessary tools and materials before starting the installation. You'll need the robotic mower, charging station, perimeter wire, pegs, wire connectors, and possibly additional tools for customizing the setup to your lawn.
Installation Steps
The charging station is the heart of your robotic mower's operation. Choose a location near a power outlet that allows for easy access by the mower. Ensure the ground is level and the station is protected from direct sunlight and water.
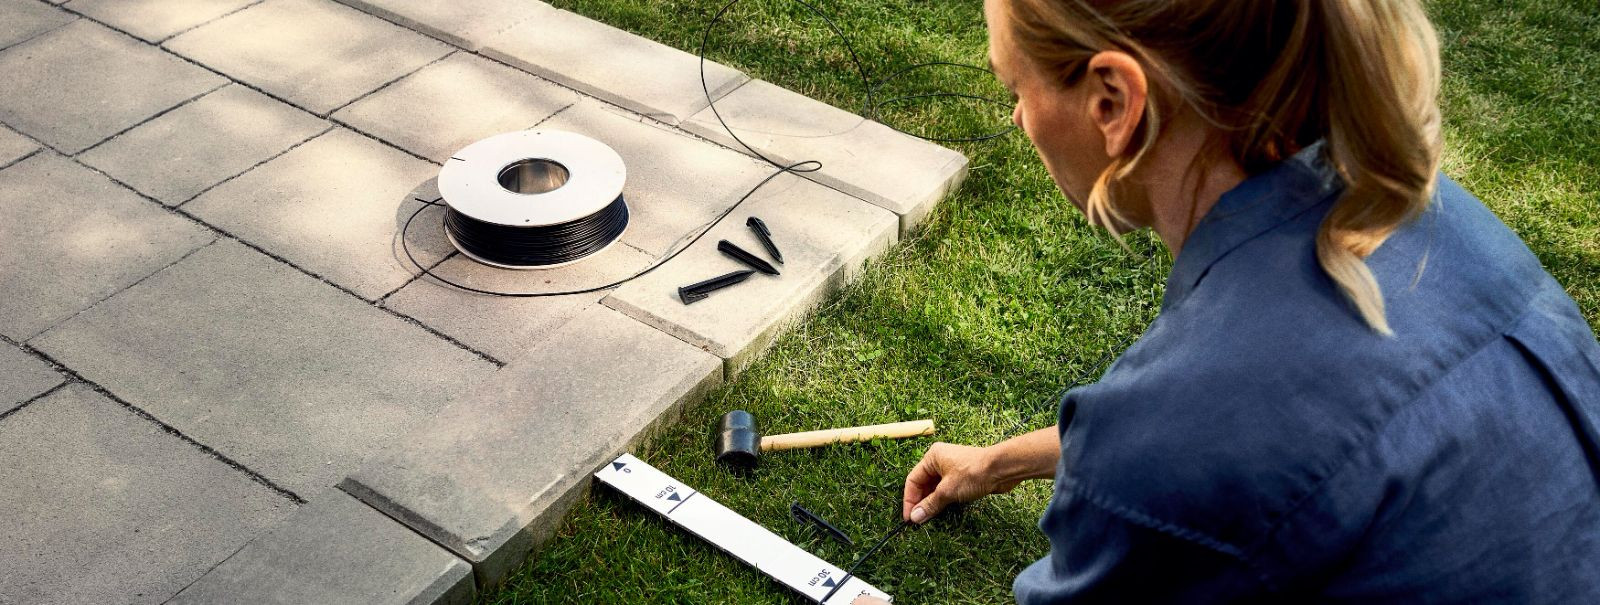
The perimeter wire defines the mowing area. Lay it along the edges of your lawn, securing it with pegs and making sure to create smooth curves around obstacles. The wire can be placed on the ground or buried a few centimeters below the surface.
The guide wire helps the mower navigate back to the charging station. It should be laid from the station to the farthest point of the lawn, following a path that avoids obstacles and steep inclines.
With the physical setup complete, it's time to program your mower. Set the cutting height, mowing schedule, and other preferences using the mower's control panel or a smartphone app, if available.
After programming, let the mower run a test cycle to ensure it operates correctly within the defined boundaries and returns to the charging station without issues.
Maintenance and Troubleshooting
To keep your robotic mower running smoothly, perform regular maintenance such as cleaning the wheels and cutting blades, checking the perimeter wire, and updating the software.
If your mower encounters problems, consult the user manual for troubleshooting tips. Common issues include the mower getting stuck, losing the perimeter signal, or not charging properly.
Enhancing Your Robotic Mower Experience
Consider enhancing your robotic mower with accessories like blade replacements, collision sensors, or GPS trackers for added functionality and convenience.
Many robotic mowers can be integrated with smart home systems, allowing for voice control and remote monitoring. This adds an extra layer of convenience and control to your lawn care routine.


Comments (0)