
Top tips for tiling your bathroom

Tiling your bathroom can transform it into a stunning and functional space. Whether you're renovating an existing bathroom or constructing a new one, choosing the right tiles and installing them correctly is crucial for achieving a professional finish. This guide provides top tips to help you navigate the tiling process with confidence.
Choosing the Right Tiles
The material of your tiles plays a significant role in the overall look and durability of your bathroom. Ceramic and porcelain tiles are popular choices due to their water resistance and ease of maintenance. Natural stone tiles, such as marble or granite, offer a luxurious appearance but require more maintenance.
The size and shape of your tiles can affect the perception of space in your bathroom. Larger tiles can make a small bathroom appear more spacious, while smaller tiles can add texture and detail. Consider the layout and size of your bathroom when selecting tile dimensions.
Color and pattern are essential for setting the mood and style of your bathroom. Light colors can make a space feel airy and open, while darker tones add warmth and coziness. Patterns, such as herringbone or chevron, can create visual interest and enhance the aesthetic appeal.
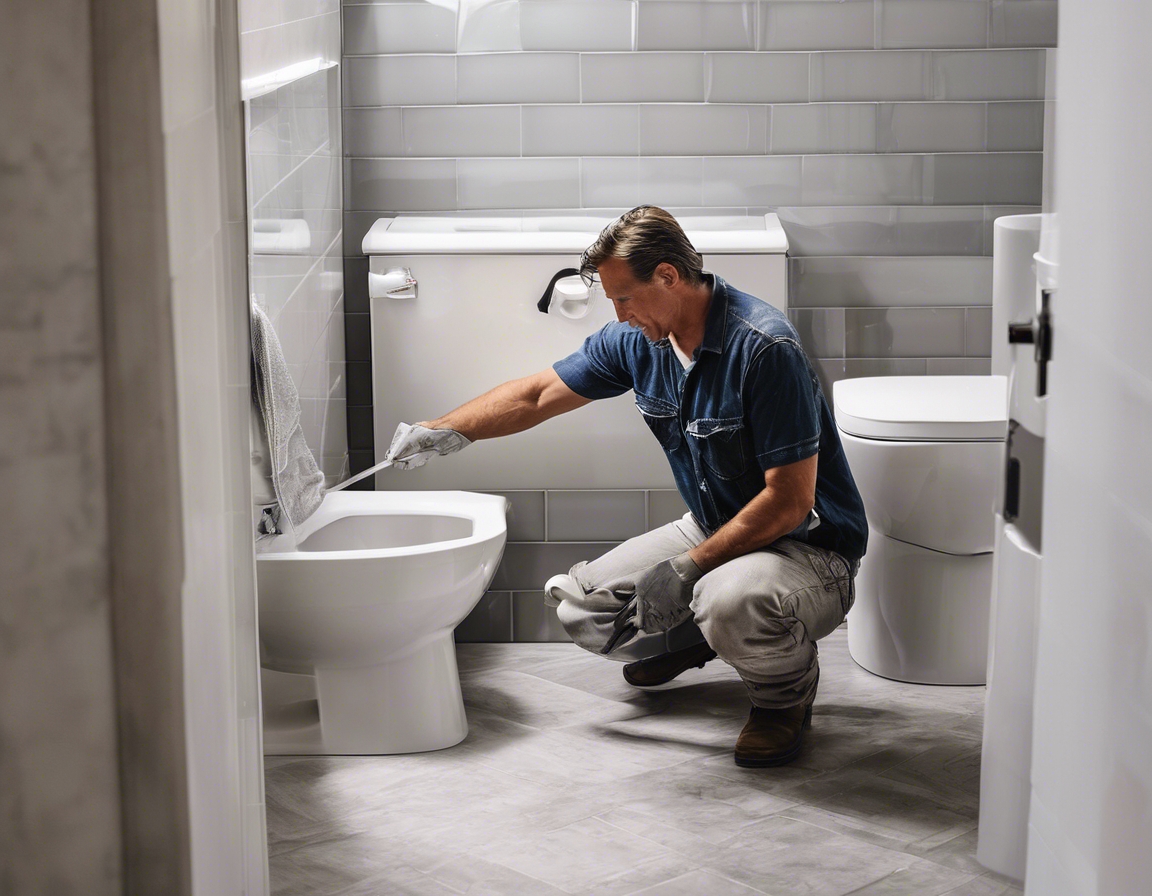
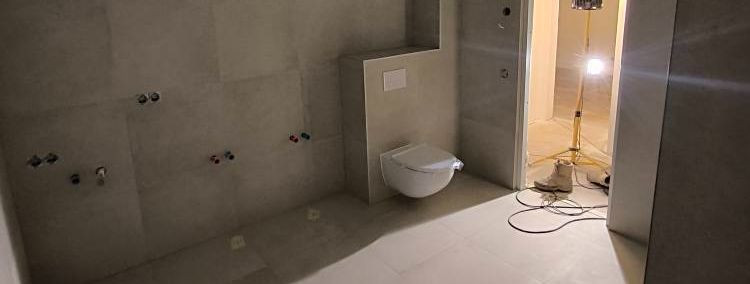
Preparing Your Bathroom for Tiling
Proper surface preparation is key to a successful tiling project. Ensure that the walls and floors are clean, dry, and free of any old adhesive or debris. Repair any cracks or uneven surfaces to create a smooth base for the tiles.
Bathrooms are exposed to high levels of moisture, making waterproofing essential. Apply a waterproof membrane to areas prone to water exposure, such as shower walls and floors, to prevent water damage and mold growth.
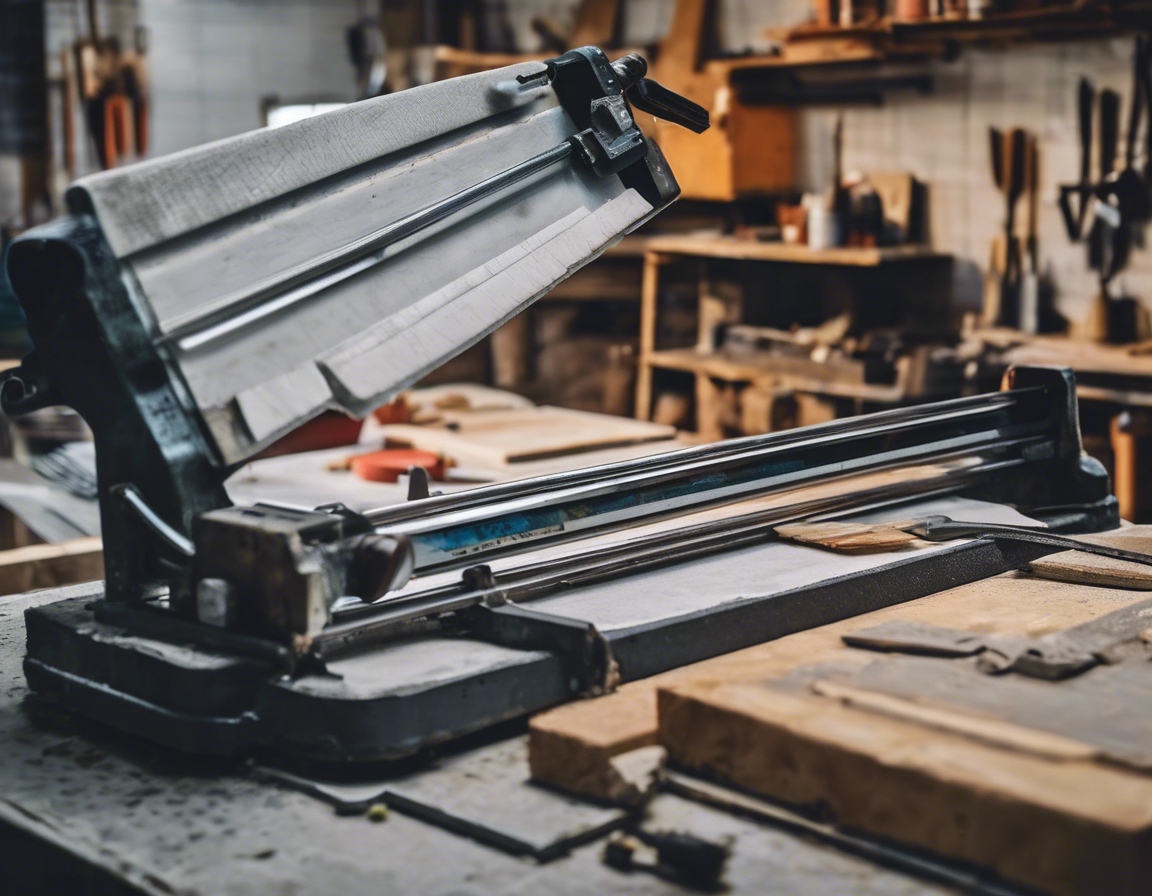
Essential Tools and Materials
Having the right tools and materials is crucial for efficient and precise tiling. Essential tools include a tile cutter, trowel, spirit level, and spacers. You'll also need adhesive, grout, and sealant to complete the installation.
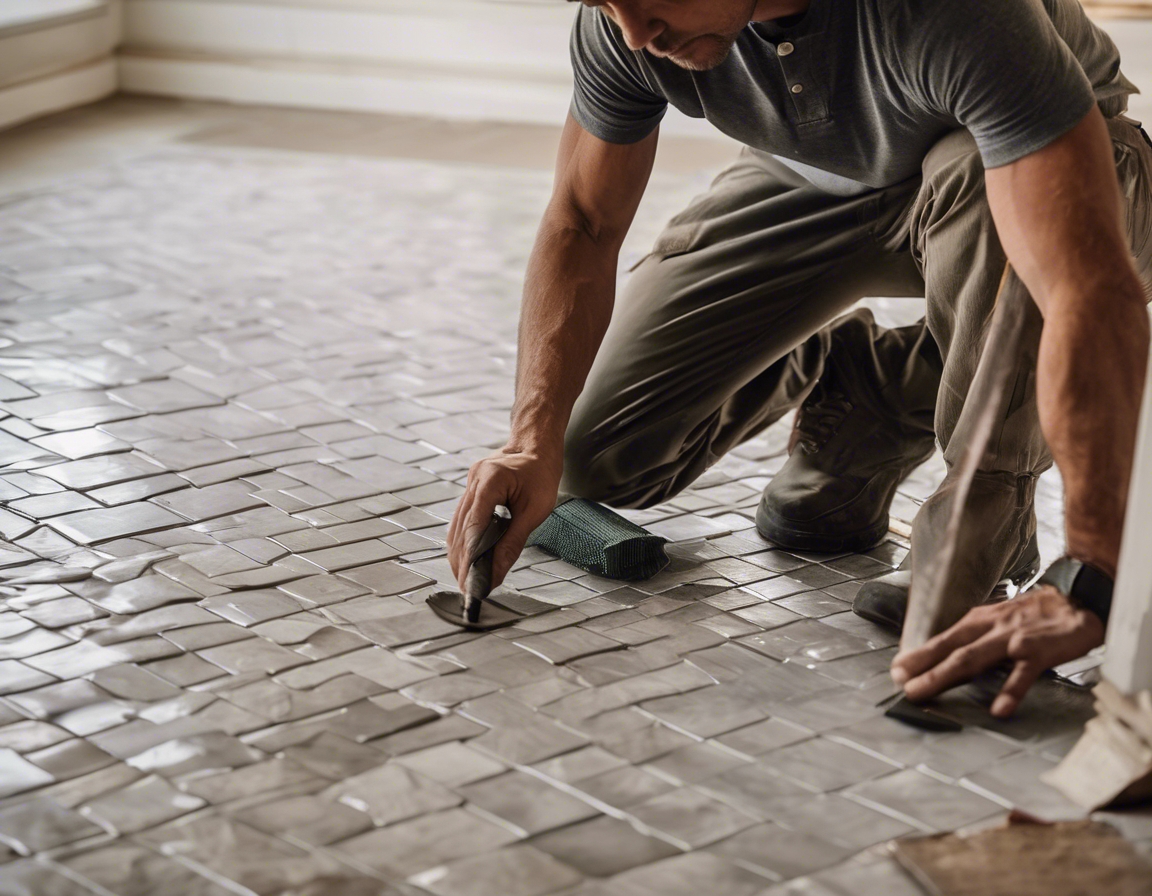
Step-by-Step Tiling Process
Before laying tiles, plan the layout to minimize cuts and ensure a balanced appearance. Use a chalk line to mark reference lines on the surface, starting from the center and working outwards.
Use a tile cutter to make precise cuts, ensuring that tiles fit snugly around fixtures and edges. Apply adhesive evenly with a notched trowel and press tiles firmly into place, using spacers to maintain consistent gaps.
Once the adhesive has set, remove spacers and apply grout to fill the gaps between tiles. Use a rubber float to spread grout evenly, then wipe away excess with a damp sponge. Seal the grout to protect against stains and moisture.
Common Mistakes to Avoid
Avoid common tiling mistakes such as inadequate surface preparation, incorrect adhesive application, and improper spacing. Taking the time to plan and execute each step carefully will result in a professional finish.
Maintenance Tips for Long-lasting Tiles
Regular maintenance is essential for keeping your bathroom tiles looking their best. Clean tiles with a mild detergent and soft cloth, and reseal grout periodically to maintain its integrity. Address any chips or cracks promptly to prevent further damage.
Comments (0)