
The ultimate guide to preserving your vhs memories on dvd

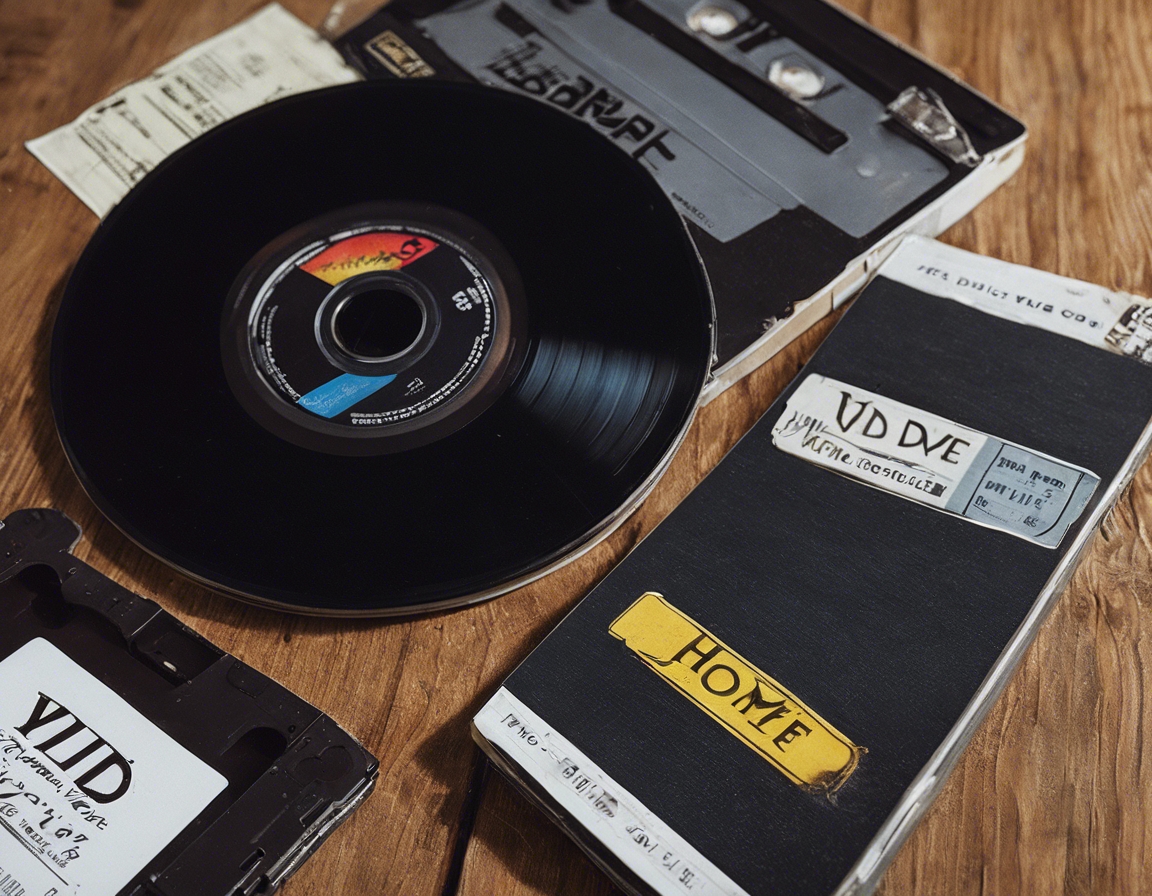
As technology advances, the charm of VHS tapes remains timeless for those who grew up in the era of video cassettes. However, the physical nature of VHS tapes means they are susceptible to degradation over time. Preserving these memories is not just about nostalgia; it's about safeguarding a personal and cultural history.
VHS tapes are not only prone to wear and tear but also to becoming obsolete as VCRs become rarer. Converting your VHS memories to DVD ensures that you can continue to enjoy them for years to come, with the added benefits of improved picture quality and durability.
VHS tapes have a limited lifespan, typically around 10 to 25 years, depending on the storage conditions and usage. Factors such as heat, humidity, and magnetic fields can significantly reduce this lifespan, making the conversion to DVD an urgent matter for preserving your content.
Preparing for the Conversion Process
Start by collecting all your VHS tapes in one place. This will give you a clear idea of the volume of work ahead and help you prioritize which tapes to convert first.
Before conversion, inspect each tape for damage and clean them gently to ensure the best possible playback quality. Dust and dirt can cause glitches during the transfer process.
Organize your tapes by date, event, or importance. This will help you decide the order of conversion and make the process more efficient.
Choosing the Right Equipment and Software
Ensure that your VHS player is in good working condition. A well-maintained player will provide a better quality transfer.
Decide whether to use a standalone DVD recorder or a computer with a video capture device. Each has its advantages, and your choice will depend on your technical comfort level and the desired quality of the transfer.
Choose software that will allow you to edit the video and author DVDs. Look for features like menu creation, chapter breaks, and customization options to enhance your DVD viewing experience.
The Conversion Process
Connect your VHS player to the DVD recorder or computer capture device using the appropriate cables. Ensure the connection is secure for a stable transfer.
Play the VHS tape and start the recording process on the DVD recorder or through the capture software on your computer. Monitor the process to address any issues that may arise during the transfer.
After transferring, use your software to edit the content. Remove unwanted sections, add titles, and create chapters to make navigation easier.
Finalizing and Preserving Your DVDs
Once editing is complete, finalize the DVD to ensure it is compatible with other DVD players. This step is crucial for sharing your DVDs with friends and family.
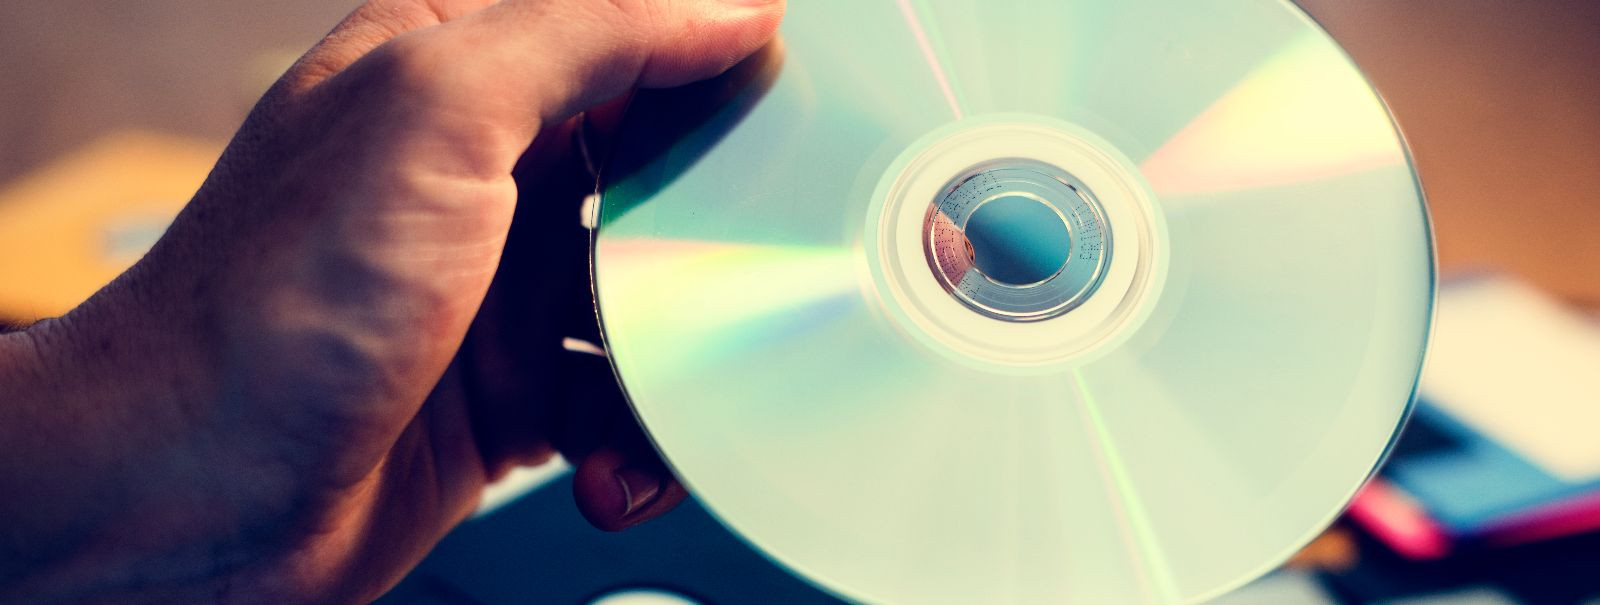
Store your DVDs in a cool, dry place away from direct sunlight. Handle them by the edges to avoid scratches and fingerprints that can affect playback.
Consider creating digital backups of your DVDs for additional security. This can be done by ripping the DVD to a computer or storing it on a cloud service.
Comments (0)